


1 拉取镜像
docker pull ubuntu:xenial
2 创建和启动container
docker run -itd --name hadoop321 ubuntu:xenial
进入终端
docker exec -it hadoop321 bash
使用如下命令初始化容器环境
#禁止suggests/recommends
echo APT::Install-Recommends "0"\; > /etc/apt/apt.conf.d/10disableextras
echo APT::Install-Suggests "0"\; >>  /etc/apt/apt.conf.d/10disableextras
echo 'export DEBIAN_FRONTEND=noninteractive' >> /etc/profile
echo 'export DEBCONF_TERSE=true'  >> /etc/profile
source /etc/profile

# 支持显示中文
apt-get install -y language-pack-zh-hans
sed -i 's/# zh_CN.UTF-8 UTF-8/zh_CN.UTF-8 UTF-8/' /etc/locale.gen
locale-gen zh_CN.UTF-8
echo "LANG=zh_CN.UTF-8" > /etc/default/locale
echo "LANGUAGE=zh_CN:zh" >> /etc/default/locale
echo "LC_ALL=zh_CN.UTF-8" >> /etc/default/locale

echo "export LANG=zh_CN.UTF-8" >> /etc/profile
echo "export LC_ALL=zh_CN.UTF-8" >> /etc/profile
source /etc/profile
# 检查当前语言环境
locale
# 安装中文字体
apt-get install -y fonts-wqy-zenhei

#设置时区
apt install -y tzdata
ln -sf /usr/share/zoneinfo/Asia/Shanghai /etc/localtime
echo "Asia/Shanghai" | sudo tee /etc/timezone
dpkg-reconfigure -f noninteractive tzdata
# 验证
date


#安装必须的软件包
apt-get -q update \
    && apt-get -q install -y --no-install-recommends \
        apt-utils \
        build-essential \
        bzip2 \
        clang \
        curl \
        doxygen \
        fuse \
        g++ \
        gcc \
        git \
        gnupg-agent \
        libbz2-dev \
        libcurl4-openssl-dev \
        libfuse-dev \
        libprotobuf-dev \
        libprotoc-dev \
        libsasl2-dev \
        libsnappy-dev \
        libssl-dev \
        libtool \
        libzstd1-dev \
        locales \
        make \
        pinentry-curses \
        pkg-config \
        python \
        python2.7 \
        python-pip \
        python-pkg-resources \
        python-setuptools \
        python-wheel \
        rsync \
        software-properties-common \
        snappy \
        sudo \
        valgrind \
        zlib1g-dev \
    && apt-get clean \
    && rm -rf /var/lib/apt/lists/* \
    && vim

echo 'export PYTHONIOENCODING=utf-8' >> /etc/profile
source /etc/profile

# OpenJDK 8

apt-get -q update \
    && apt-get -q install -y --no-install-recommends openjdk-8-jdk libbcprov-java \
    && apt-get clean \
    && rm -rf /var/lib/apt/lists/*

# Install cmake 3.1.0 (3.5.1 ships with Xenial)
mkdir -p /opt/cmake \
    && curl -L -s -S \
      https://cmake.org/files/v3.1/cmake-3.1.0-Linux-x86_64.tar.gz \
      -o /opt/cmake.tar.gz \
    && tar xzf /opt/cmake.tar.gz --strip-components 1 -C /opt/cmake

echo 'export CMAKE_HOME=/opt/cmake'  >> /etc/profile
echo "export PATH=${PATH}:/opt/cmake/bin"  >> /etc/profile
source /etc/profile

# Install Google Protobuf 2.5.0 (2.6.0 ships with Xenial)
mkdir -p /opt/protobuf-src \
    && curl -L -s -S \
      https://github.com/google/protobuf/releases/download/v2.5.0/protobuf-2.5.0.tar.gz \
      -o /opt/protobuf.tar.gz \
    && tar xzf /opt/protobuf.tar.gz --strip-components 1 -C /opt/protobuf-src \
    && cd /opt/protobuf-src \
    && ./configure --prefix=/opt/protobuf \
    && make install \
    && cd /root \
    && rm -rf /opt/protobuf-src

echo 'export PROTOBUF_HOME=/opt/protobuf' >> /etc/profile
echo "export PATH=${PATH}:/opt/protobuf/bin" >> /etc/profile
source /etc/profile

#查看protobuf版本
protoc --version
#显示
libprotoc 2.5.0

# Install Apache Maven 3.3.9 (3.3.9 ships with Xenial)
apt-get -q update \
    && apt-get -q install -y --no-install-recommends maven \
    && apt-get clean \
    && rm -rf /var/lib/apt/lists/*
echo "export MAVEN_HOME=/usr" >> /etc/profile
echo 'export MAVEN_OPTS="-Xms256m -Xmx1536m"' >>  /etc/profile
source /etc/profile

# Install findbugs 3.0.1 (3.0.1 ships with Xenial)
apt-get -q update \
    && apt-get -q install -y --no-install-recommends findbugs ant \
    && apt-get clean \
    && rm -rf /var/lib/apt/lists/*

echo "export FINDBUGS_HOME=/usr" >> /etc/profile
source /etc/profile

#Install shellcheck (0.4.6, the latest as of 2017-09-26)
# add-apt-repository -y ppa:jonathonf/ghc-8.0.2 该方法不可用
# 以下替换的新方法
#1 下载并安装 GHCup
export BOOTSTRAP_HASKELL_NONINTERACTIVE=1
curl --proto '=https' --tlsv1.2 -sSf https://get-ghcup.haskell.org | sh
#2 重新加载环境变量并安装 GHC 8.0.2
source ~/.ghcup/env
echo 'source /root/.ghcup/env' >> /root/.bashrc

ghcup install ghc 8.0.2
ghcup set ghc 8.0.2
#3 验证安装
ghc --version
预期输出:The Glorious Glasgow Haskell Compilation System, version 8.0.2

#继续下面的操作
apt-get -q update \
    && apt-get -q install -y --no-install-recommends shellcheck \
    && apt-get clean \
    && rm -rf /var/lib/apt/lists/*

# Install bats (0.4.0, the latest as of 2017-09-26, ships with Xenial)
apt-get -q update \
    && apt-get -q install -y --no-install-recommends bats \
    && apt-get clean \
    && rm -rf /var/lib/apt/lists/*

# Install pylint at fixed version (2.0.0 removed python2 support)
# 前置安装
apt-get update && apt-get install -y python-dev python-setuptools
pip2 install setuptools==44.1.1 wheel==0.37.1
pip2 install pip==20.3.4
pip2 install configparser==3.8.1 isort==4.3.21 singledispatch==3.7.0 lazy-object-proxy==1.5.2 backports.functools_lru_cache==1.6.4 pylint==1.9.2
# pylint目标安装
pip2 install pylint==1.9.2
#验证安装
pylint --version
#输出
No config file found, using default configuration
pylint 1.9.2,
astroid 1.6.6
Python 2.7.12 (default, Mar  1 2021, 11:38:31)
[GCC 5.4.0 20160609]

# Install dateutil.parser
pip2 install python-dateutil==2.7.3

# Install node.js for web UI framework (4.2.6 ships with Xenial)
apt-get -q update \
    && apt-get install -y --no-install-recommends nodejs npm \
    && apt-get clean \
    && rm -rf /var/lib/apt/lists/* \
    && ln -s /usr/bin/nodejs /usr/bin/node \
    && npm install -g jshint

# Install hadolint
curl -L -s -S \
        https://github.com/hadolint/hadolint/releases/download/v1.11.1/hadolint-Linux-x86_64 \
        -o /bin/hadolint \
   && chmod a+rx /bin/hadolint \
   && shasum -a 512 /bin/hadolint | \
        awk '$1!="734e37c1f6619cbbd86b9b249e69c9af8ee1ea87a2b1ff71dccda412e9dac35e63425225a95d71572091a3f0a11e9a04c2fc25d9e91b840530c26af32b9891ca" {exit(1)}'

# Install svn & Forrest (for Apache Hadoop website)
apt-get -q update \
    && apt-get -q install -y --no-install-recommends subversion \
    && apt-get clean \
    && rm -rf /var/lib/apt/lists/*

mkdir -p /opt/apache-forrest \
    && curl -L -s -S \
      https://archive.apache.org/dist/forrest/0.8/apache-forrest-0.8.tar.gz \
      -o /opt/forrest.tar.gz \
    && tar xzf /opt/forrest.tar.gz --strip-components 1 -C /opt/apache-forrest

echo "export FORREST_HOME=/opt/apache-forrest" >> /etc/profile
source /etc/profile

curl -L -o hugo.deb https://github.com/gohugoio/hugo/releases/download/v0.30.2/hugo_0.30.2_Linux-64bit.deb \
    && dpkg --install hugo.deb \
    && rm hugo.deb

# 创建/root/hadoop_env_checks.sh
/root/hadoop_env_checks.sh

chmod 755 /root/hadoop_env_checks.sh
echo '${HOME}/hadoop_env_checks.sh' >> /root/.bashrc
#登录执行source /etc/profile
echo "source /etc/profile" >> /root/.bashrc
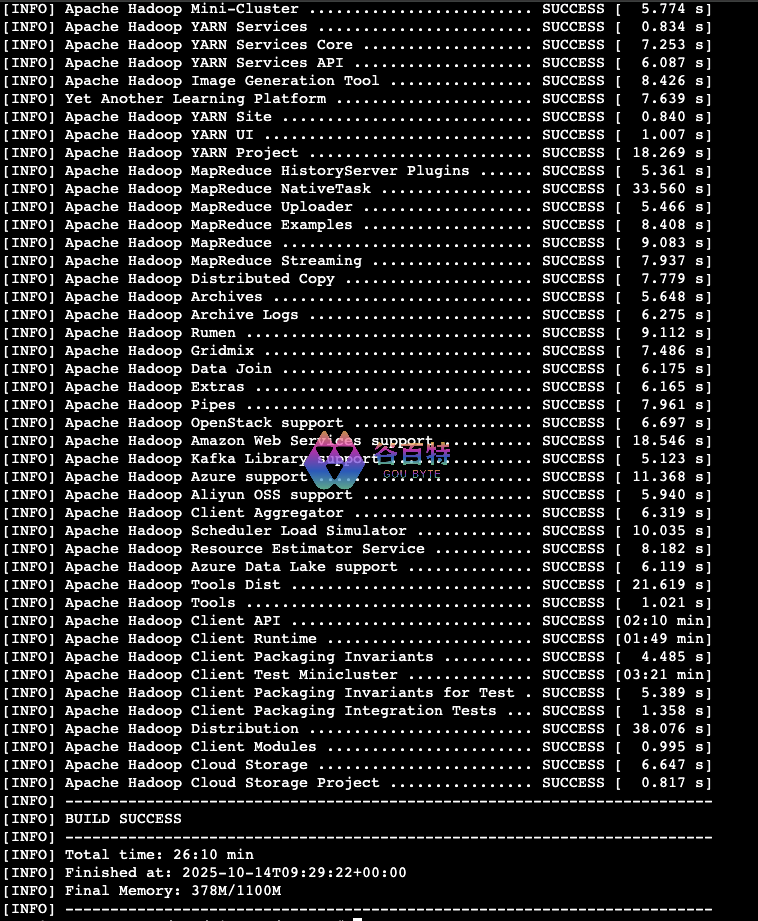
3 编译hadoop
使用命令
mvn clean install -Pdist,native -DskipTests -Dtar -Dhttps.protocols=TLSv1,TLSv1.1,TLSv1.2 -e
编译成功如下
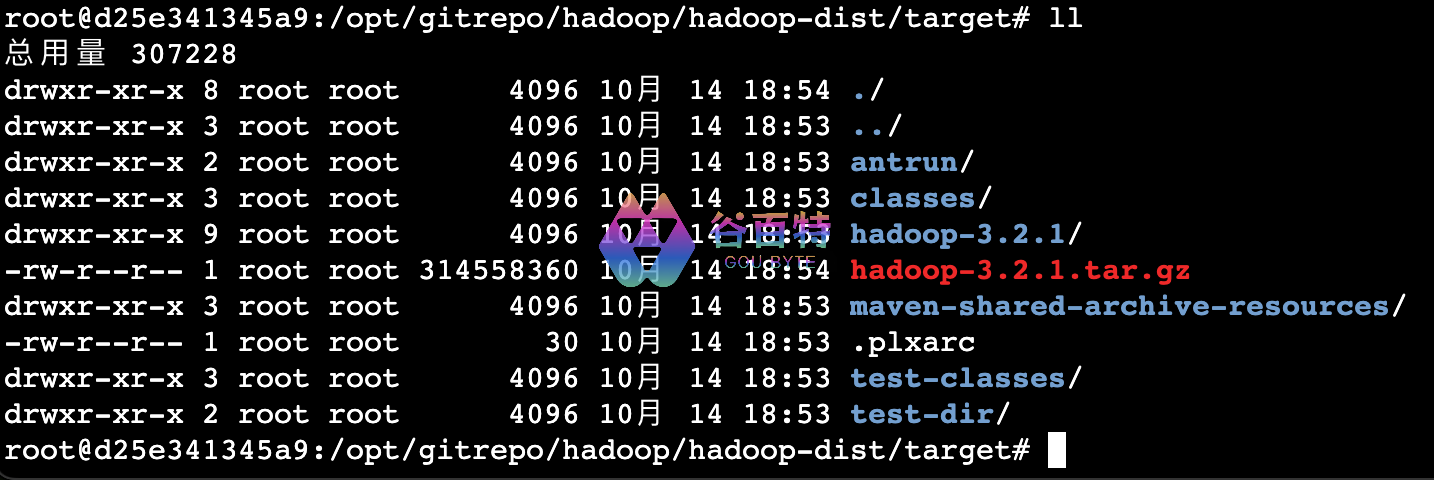
编译好的二进制包位于/opt/github/hadoop/hadoop-dist/target下hadoop-3.2.1.tar.gz,如下图:
4 基于容器制作镜像
docker commit fd828c97b733(容器id) hadoop321:v1
5 基于新镜像创建容器
docker run -itd --name hadoop321 -v /data/gitrepo:/opt/gitrepo -v /data/mavenrepo:/opt/mavenrepo hadoop321:v1 /bin/bash
宿主机的/data/gitrepo是代码仓库,直接映射到容器的/opt/gitrepo,共享宿主机的hadoop代码
宿主机的/data/mavenrepo是maven仓库,直接映射到容器的/opt/mavenrepo,共享宿主机的maven仓库
6 问题
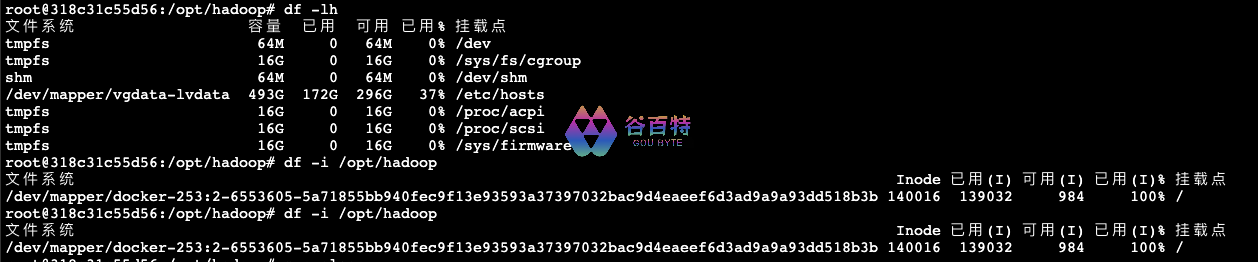
问题1: 设备上没有空间
异常堆栈如下:
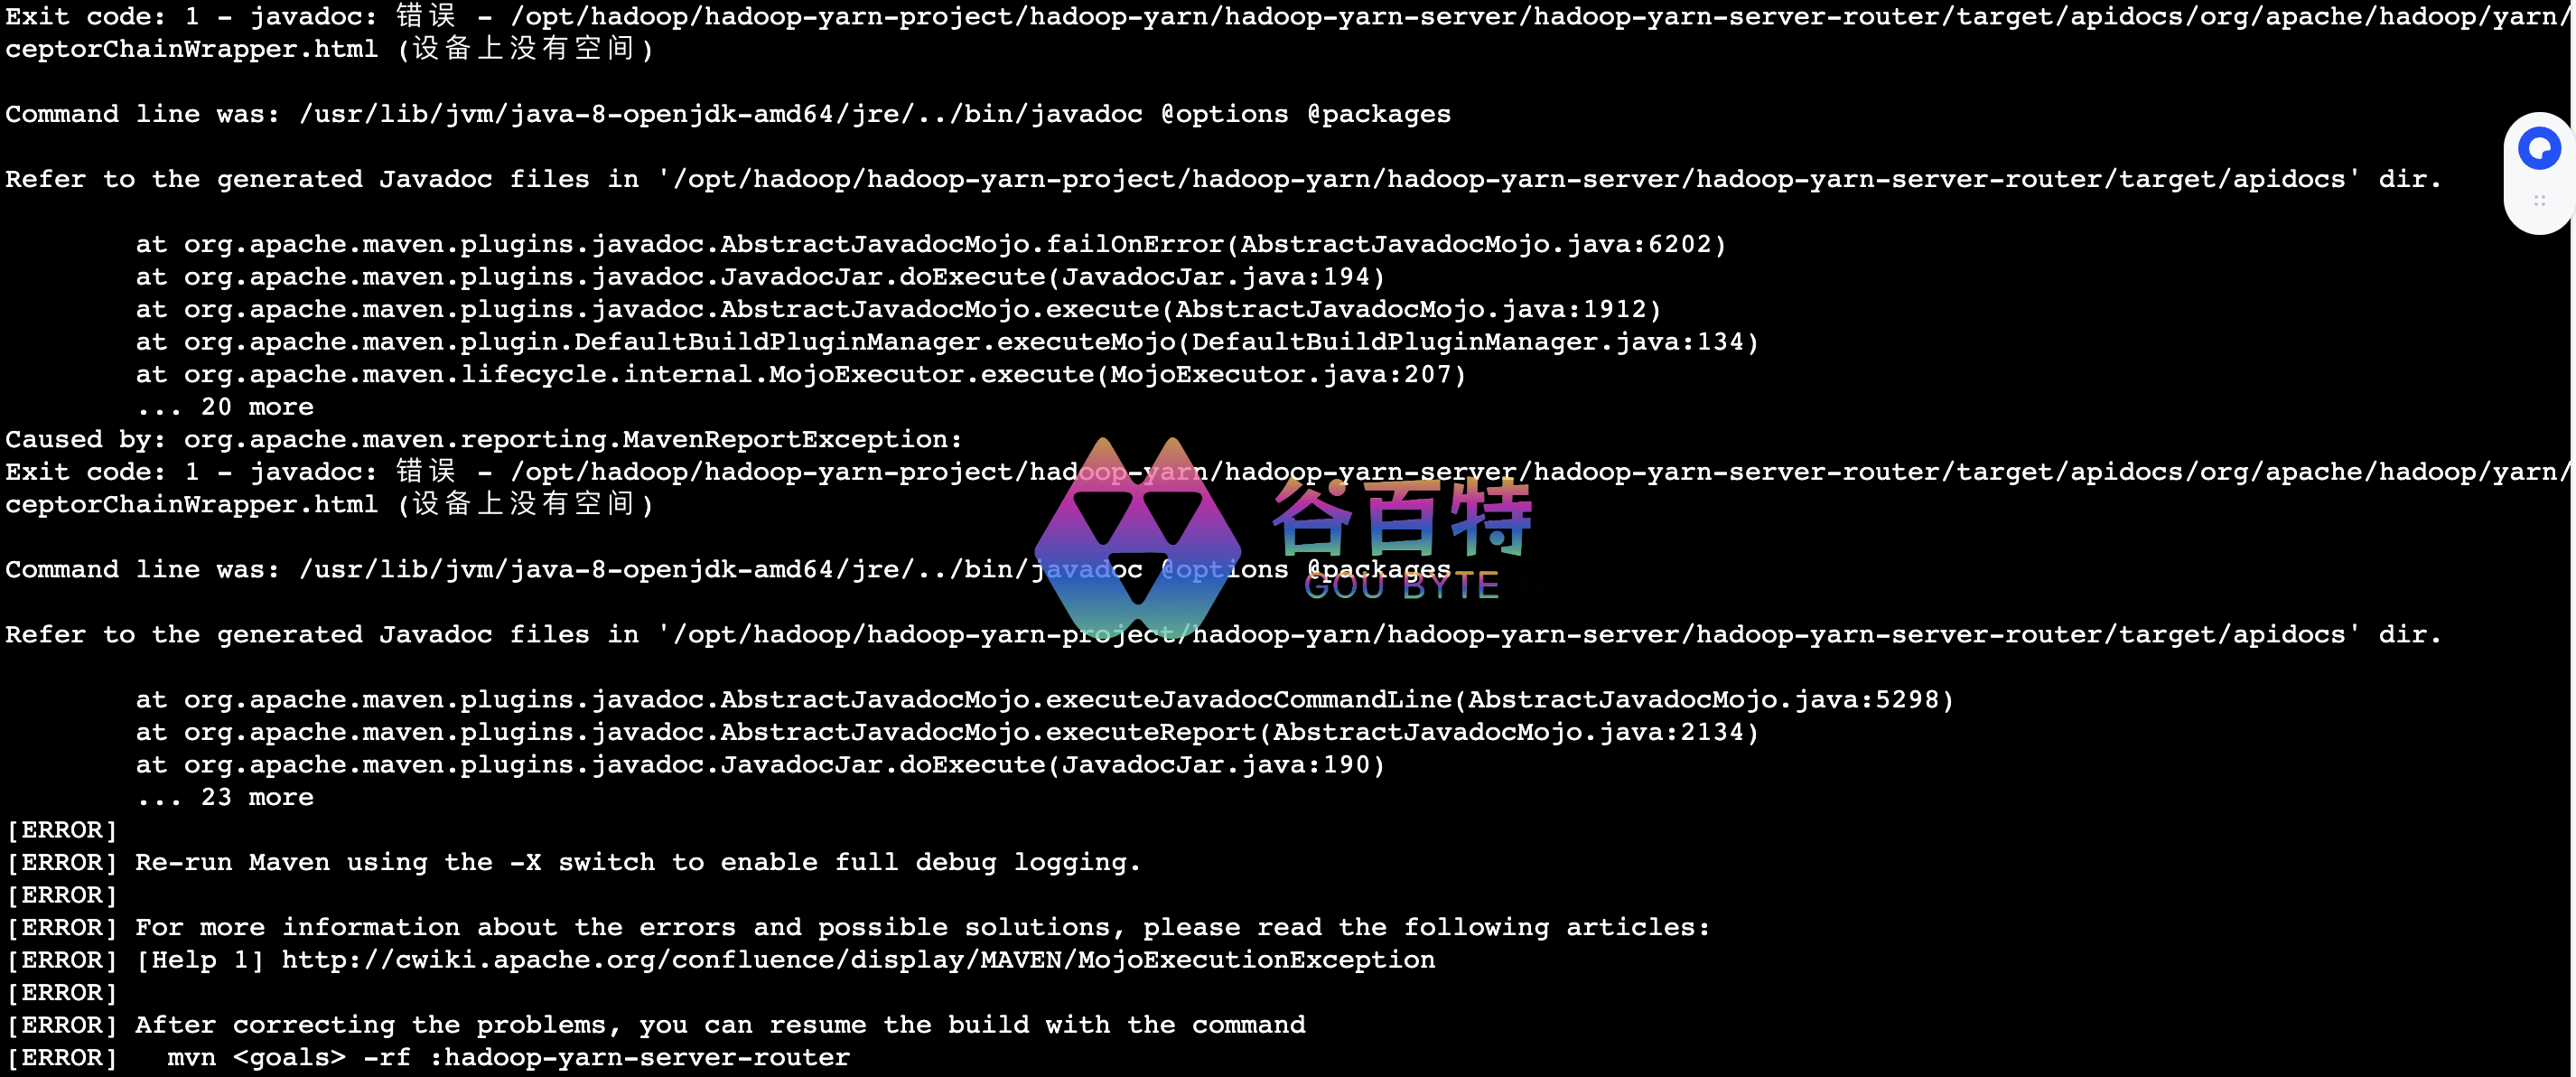
查看df -lh,磁盘空间是富足的,df -i /opt/gitrepo/hadoop,发现inode不足,如下图:
方案:在/opt/gitrepo/hadoop下,执行mvn clean,释放inode,如下图所示

mvn编译时,跳过文档编译,加入该参数-Dmaven.javadoc.skip=true。
7 镜像瘦身
hadoop321:v1镜像体积很大,需要瘦身,使用如下方法:
# 启动容器
docker run -i -t hadoop321:v1 /bin/bash

#进入容器
docker exec -it 容器id bash

cd /opt
#清理hadoop, 容器内的maven仓库mavenrepo
rm -rf hadoop mavenrepo

cd /root
#清理.ghcup,.cabal
rm -rf .cabal .ghcup

#移除 .ghcup初始化信息
vi  /root/.bashrc
#删除如下
source /root/.ghcup/env

#导出容器到tar包,得到单层镜像
docker export 1bd5f87e(容器id) > hadoop321-v1.tar

#从tar包导入单层镜像
docker import hadoop321-v1.tar

#标记新的镜像
docker tag 1bd5f87e(镜像id) hadoop321:v1
评论区